Monday 28 February 2011

Asset 3: Snake

Another recurring theme in 'Live and Let Die' is the snake.

Two different techniques were used while creating my snake asset.

Initially I selected the spline modifier, and drew a line in the rough form of a snake, I then used the loft technique to create the body of the snake from the spline.

This technique worked well as an effecient and quick way to create the snake body and shape, though when it came to trying to add material to the loft I continually got an error while attempting to add texture to the loft. I'm not really sure why this kept happening, so I decided to create a second snake in a different way.

On the second attempt, I created a cylinder shape, converted to an editable poly and bevelled the front and back end of the cylinder in order to try and achieve the pointy tail and to flatten out the head a little.

Then using soft selection I manipulated the bendy shape of the snake body, moving parts of the body left and right a little to attempt to give the snake a more realistic look.

I added two small black spheres as the eyes and positioned them accordingly, and also drew a line in the shape of a tongue again using the spline technique and coloured it red.

I didnt have any difficulty in adding texture to the second snake, so again I used the multi sub object technique to texture the snake.

I imported a bitmap of a snake skin texture, to add to the object, then I selected a seperate texture for the underbelly of the snake and coloured it yellow, while colouring the rest of the snake green.

2 Snakes:

Red Snake - Loft Technique, Green Snake - Bevelled Cylinder


Green Snake:


Underbelly Texture:


Texture Example Top/Bottom:


My Snake:


Asset 2: Walther PPK

Walther PPK - The most famous Bond weapon of all ....


Image Ref: http://world.guns.ru/userfiles/images/handguns/germany/hg13/1287733461.jpg

Firstly, a reference plane was created and assigned using the image above as a reference guide for the model.


A box shape was created from the modifier list and was converted to an editable poly.

Initially the whole gun was created from one box, using the extruding technique, carefully selecting sides of the box and dragging them to try and fit the shape of the reference plane.

Gun as One Shape:


At this stage I continued trying to make it in one shape, yet found it difficult to create the trigger, so I added a small box, bevelled and bent it in order to try and achieve the trigger.

I also made the decision to recreate the silencer of the weapon by attaching a cylinder, so I cut the front of the model off and replaced it with a cylinder object to try and achieve a more rounded gun barrel.

Gun with New Barrel added:


I then sourced a metallic black texture and used the material editor to try a few different texture effects on the weapon to try and achieve a shiny black feel.


Gun with Material Texture Added:


In order to try and achieve a smoother finish to the weapon, the meshsmooth effect was used from the modifier list. By selecting all parts of the gun and applying this effect.


Meshsmooth:


I then created a bullet, by creating a cylinder shape and bevelling it to try and create a pointed shape for the bullet.


Meshsmooth with Bullet Added:


It still didn't look quite right, so I then applied the turbosmooth effect from the modifier list, as an alternative, which I feel makes it look slightly better.

Turbosmooth:


Walther PPK:


I still feel I need to work a little more on the actual texture of the gun, in order to add more detail, though I am quite happy at this stage with how it has progressed.

Asset 1: Tarot Cards

TAROT CARDS:

One of the most memorable influences in 'Live and Let Die' is the theme of fortune telling, and an element that I wanted to try and create a basis for in my trailer.

There are numerous cards that are referenced in the movie; "death", "the lovers", "the queen of cups", "the fool" & "the high priestess". Though the decision i made was to focus on the three cards which I felt most represented the bond theme, "death", "the lovers" and "the fool.

I tried a few different techniques while creating the cards asset.

Initially a simple array of 3 boxes was made and sat the three cards equidistant from each other in the array, which worked well, though for my final attempt I simply created a box in the shape modifier, sized the boxes height and width, to what I felt looked like the correct size, and used the clone technique to create three identically sized boxes.

I sourced images in google to match the exact "style" of tarot cards that are used in the movie. I also sourced the back of a card to try and make the cards look as realistic or authentic as possible.

The style of cards used in the James Bond movie are "The Tarot of the Witches".

References for Tarot Cards:

http://www.collectorsquest.com/blog/2011/01/13/james-bond-is-back-with-collectibles/
(the lovers)

http://www.tarotpassages.com/witch.jpg
(the fool)

http://www.masquedman.com/readings/cards/witchesof/womaj13.jpg
(death)

https://blogger.googleusercontent.com/img/b/R29vZ2xl/AVvXsEhtiwYlTCIQpKXiqkssxPiIXA_UbbnLi4JihyAs90UCmYag08F00RgEH3S04vPpFwgvvXBE1j4DKMar3pcMsGb8XRC1JVeD4wlxxfhmHDcIfBXjMFqqb4wCAd8tmHR71dJPO2elP0qbo94/s1600/cardsphoto1.JPG
(back of cards)

Using the multi sub-object texturing technique. I then assigned the images as texture to the cards. A technique used to add multiple textures to objects or surfaces.

Face:


This is achieved by firstly importing the images into the material editor as bitmaps. Then two material ID's were set for the two items (front and back images of the cards). The front of the card was assigned as ID 1 and the rear ID 2, by selecting the sub-material panels within the material editor.

This process was repeated on all three cards, by returning to the parent and re-assigning the materials within three slots in the material editor.


It was a relatively simple process, as there are only two flat sides to a card and therefore only two surfaces to texture.

Back:


This was the cards complete themselves, but I also wanted to try and create the rest of the deck to lie on the table to add to my scene in the long run.

I created a chamfer box and rounded the edges very slightly to try and create a full deck, and I cloned and positioned a card on top of the box in order to try and give the appeal of a pack of cards still in use.

The same process of assigning a material to the object as explained above was used to create the box, I moved the ball in the material editor around a bit to try and create the effect of the sides of the deck.


Cards and Deck:


The next step which I began to create was to add a table. This was created simply by making a large flat cylinder. I then created four smaller thin cylinders to create the legs, and aligned the legs into position using the align tool, to make the distances between them exact.

The same process was used for adding texture to the table. I assigned a metallic texture, though i may change this and re-do the table a little differently for my final scene, I just wanted to try and test out how the cards would look on the table.

Cards and Table:


Final Cards:

Tutorial 3

Tutorial Exercises:

The purpose of the tutorial was to introduce the ability of being able to add different textures to our objects.

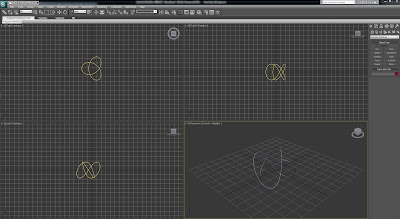
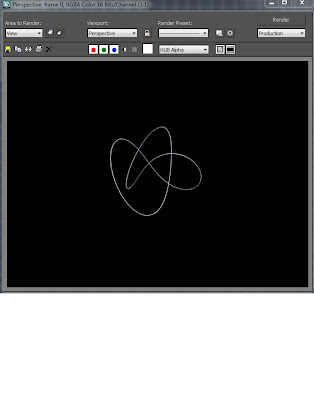
Torus Knot:

A torus knot shape was created from choosing this option in the 'extended primitives' panel.

The Anastropic shader was selected and the blue colour was added to the object, and the options were edited slightly to see the affect on the image.

A "cityscape" image was selected and imported into the material editor, by choosing the material editor (clicking button next to diffuse) and selecting the cityscape as a bitmap.

Once the material had been imported into the editor, it was applied to the model.


Leaf:

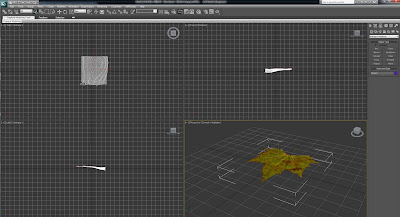
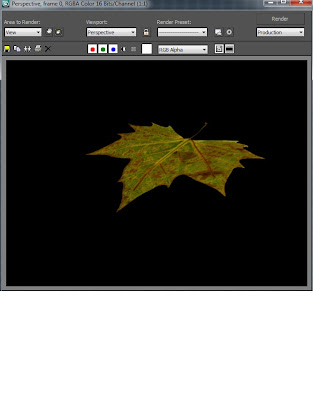
The purpose of this tutorial was to import a leaf image into photoshop, the leaf was cut out using the magic wand tool, to make the "white" fill in the image below and the background was filled black, which gave us this result:


A reference plane was created in 3ds max.

The leaf image was then imported into the material editor as a bitmap. Essentially the leaf was cut out from the image to be imported into 3ds max.

Texture was added to the leaf using the bump map, in the material editor, the bump value was increased to 130 to try and achieve a more realistic effect.

The leaf was then dragged on to the plane from the material editor, and then we shaped the leaf using the edit poly modifyer, basically dragging points of the leaf to try and bend and shape it more realistically.


Tuesday 8 February 2011

Shaken Not Stirred - Idea & Storyboard 2

This is my second written idea for the assignment trailer.

It is essentially a refined adaptation of my initial idea, simplified a little and probably a little easier to animate in terms of the assignment. Though it lacks a little in excitement from the initial idea, i feel it still works quite well as a concept in the context of the original movie medium. It still uses key elements taken from Live and Let Die.

I haven't drawn up this storyboard again yet, though will do so shortly.

Written idea 2:

Shaken Not Stirred - Idea & Storyboard 1

Below is a principle written idea for the assignment trailer, accompanied by initial storyboard ideas.

I really like the potential concept, though i realise that it may be a little complicated in terms of actually animating it. I'm not sure at this stage whether with my knowledge of the program it would be achievable visually?

I wanted to put it down as an idea on paper though, as it has been something running around in my mind. It is an initial idea that needs development. The storyboards and drawings are very basic at this stage, though it has been helpful to me in order to visualize the idea...

As I mentioned previously, it is based upon elements from "Live and Let Die".


Written Idea:


Storyboards:


Live and Let Die Brainstorm

Live, Die, Skulls, Voodoo, Snakes, Funeral, New Orleans, Louisiana, Big Band, San Monique, Kananga, Mr. Big, Tee Hee, Miss Moneypenny, Wing Mirror Dart, Oh Cult Voodoo Shop, The Fool, Secret Revolving Table, Black & White, Tarot Cards, Perception, Future, Solitaire, Baron Samedi, Flute, Scarecrow, Top Hat, Hat on Bed, Bloody White Feather, Voodoo Warnings, Handglider, Speed Boats, Double Decker Bus, Queen of Cups, The High Priestess, Death, Heroin Smuggling, The Lovers, "Who's Funeral Is it Anyway?", Table Drop Through Floor, Fillet of Soul, Voodoo Rituals, Magnetic Wrist Watch, Crocodiles, Green & Yellow Snake, Red and White Boat, Speedboat Chases, Graveyard, Skeleton Suit...

Mood Boards

General James Bond initial mood board:


James Bond: Live and Let Die mood board:

Monday 7 February 2011

Tarot Cards

Asset 1: Tarot Cards

So far i have watched, "Live and Let Die", "Moonraker", "The Spy Who Loved Me" and "You Only Live Twice" in search of inspiration for the assignment.

My initial ideas for an actual trailer have stemmed from my favorite Bond movie. "Live and Let Die".

One of the most influential properties from the movie for me is the Voodoo theme and Tarot Cards, and of course as a young testosterone fueled male it was very difficult for me to get the image of Jane Seymour as Solitaire in this movie out of my head, so i have been thinking about ideas development based around some of these facets. The whole mystery and intrigue, fate teller concept could be something that could be developed further as a visual medium.

Tarot card images from film:
Death


The Lovers


The Fool


I made some very basic Tarot Cards in 3Ds Max, simply by creating card shapes and assigning bitmaps from Tarot Cards onto the images, merely to test out how this can be done, I then tested out the movement slightly which can be seen in the video below.

This is very basic, though was just a way for me to visualize and think about my initial ideas further....


Tutorial 2 Techniques

The tutorial exercise explored the use of a few techniques that would be of value when producing our animation. The main techniques used were to familiarise with using pivot points on objects, assigning reference plates as a reference picture to build objects more effectively, lathing, arrays and booleaning.

Some examples of object using these techniques can be seen below:


Pivot Point:


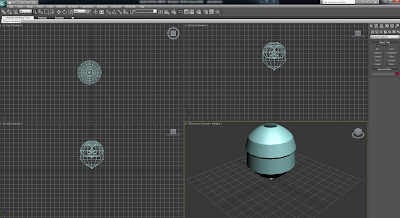
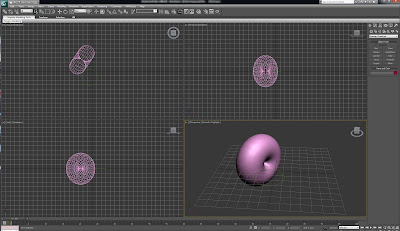
This was a simple exercise in order to familiarise how to affect a pivot point on a creted object.


Lathe:


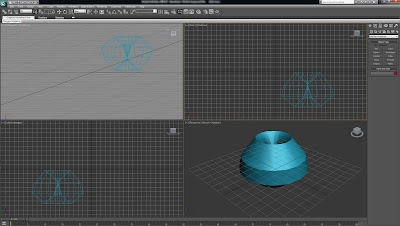
A shape was drawn using the line tool, basically half of the shape was drawn. The line was converted into a poly and the lathe effect was selected from the modifier toolset. The Lathe effect created a full round image.

This was actually supposed to be a wine glass, though mine is more like a vase ??


Boolean and Pro-Boolean:


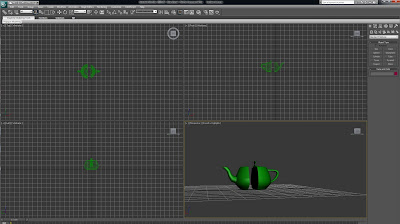
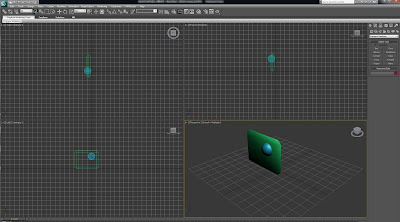
The Boolean is a very useful technique in creating windows or holes. The boolean can be found in the compound objects panel. In the picture above a hole has been cut in the object using the subtraction option in the boolean prefences. This technique can also be used to compound two objects together, which can be seen below.


Loft:


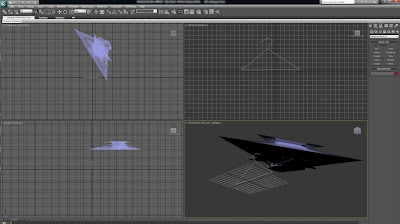
A shape was created using the geometry panel, and loft was selected from the compound objects. essentially a line or shape is drawn and using the loft technique it makes the object 3d.

This was supposed to be a coat hanger - im not entirely sure what happened here? I will attempt this technique again.


Arrays:


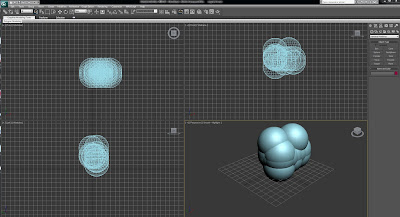
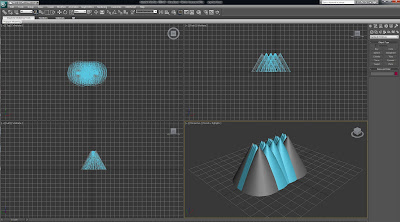
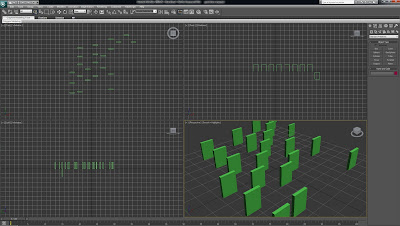
The array method is used to clone objects multiple times and give the user more control of where they want them positioned. In the first two pictures above a shape was created and the array was given 2d and 3d values in the x and y values in order to determine how many duplications of the object were needed, they were then moved around a bit to test how this method works. In the third image the same technique was used, though smaller squares were created in order to try and create a gravestone effect.


Plane:


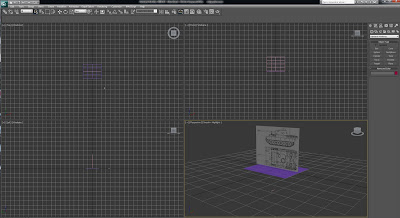
A Plane is a method where a bitmap is imported, and resized in order to provide a reference to model with. Two planes can be imported on two dimensions, in order to give a better visual perspective of top, bottom and side.


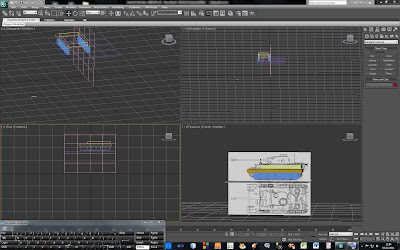
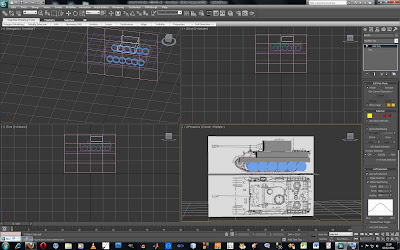
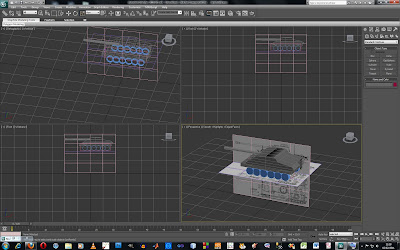
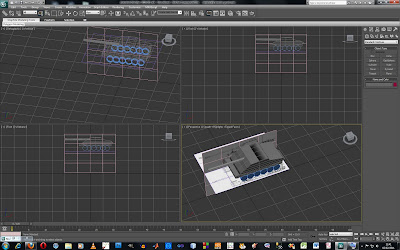
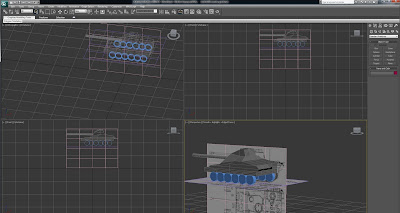
Building a Tank using Reference Plane:


The tank that I have currently created in the tutorial was structured by importing 2 bitmaps in as reference planes, to give an idea of how the image needs to look and be sized. Initially sections were created using different shapes but was encouraged to use as few shapes as possible as this can affect file size hugely and rendering time.

The main tank body was created as one box shape, converted to an editable poly, then was extruded while using the vertex tool to manipulate the points of the model.