Some examples of object using these techniques can be seen below:
Pivot Point:
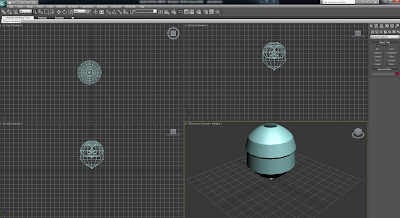
This was a simple exercise in order to familiarise how to affect a pivot point on a creted object.
Lathe:
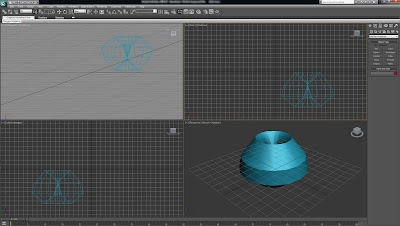
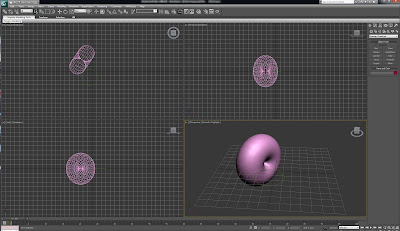
A shape was drawn using the line tool, basically half of the shape was drawn. The line was converted into a poly and the lathe effect was selected from the modifier toolset. The Lathe effect created a full round image.
This was actually supposed to be a wine glass, though mine is more like a vase ??
Boolean and Pro-Boolean:
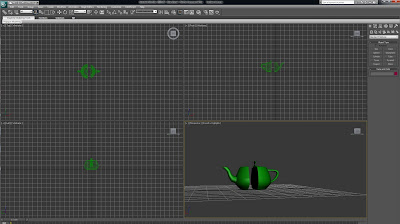
The Boolean is a very useful technique in creating windows or holes. The boolean can be found in the compound objects panel. In the picture above a hole has been cut in the object using the subtraction option in the boolean prefences. This technique can also be used to compound two objects together, which can be seen below.
Loft:

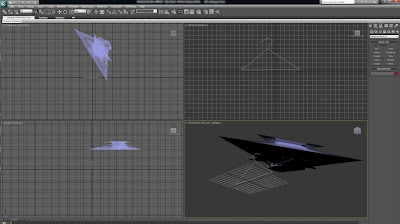
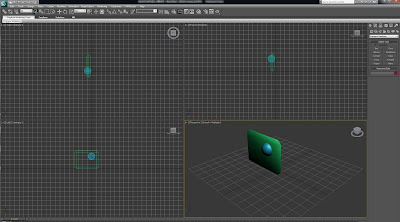
A shape was created using the geometry panel, and loft was selected from the compound objects. essentially a line or shape is drawn and using the loft technique it makes the object 3d.
This was supposed to be a coat hanger - im not entirely sure what happened here? I will attempt this technique again.
Arrays:
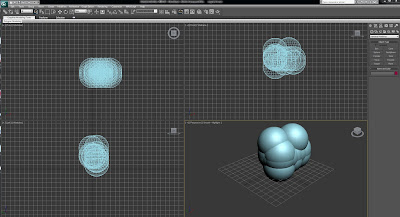
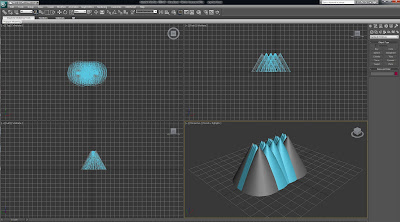
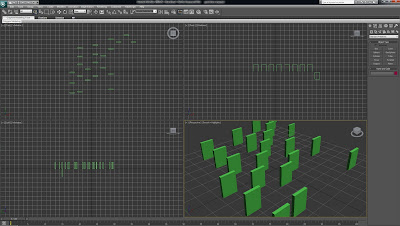
The array method is used to clone objects multiple times and give the user more control of where they want them positioned. In the first two pictures above a shape was created and the array was given 2d and 3d values in the x and y values in order to determine how many duplications of the object were needed, they were then moved around a bit to test how this method works. In the third image the same technique was used, though smaller squares were created in order to try and create a gravestone effect.
Plane:
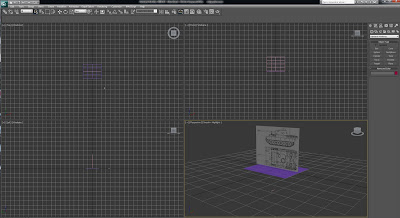
A Plane is a method where a bitmap is imported, and resized in order to provide a reference to model with. Two planes can be imported on two dimensions, in order to give a better visual perspective of top, bottom and side.
Building a Tank using Reference Plane:
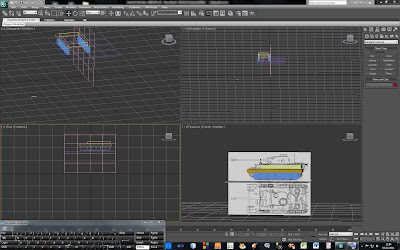
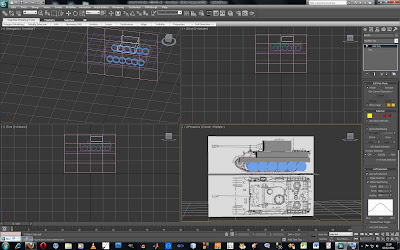
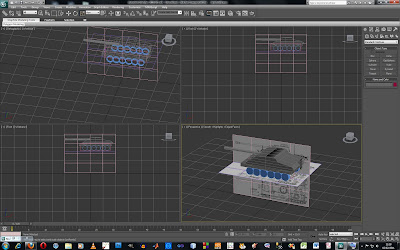
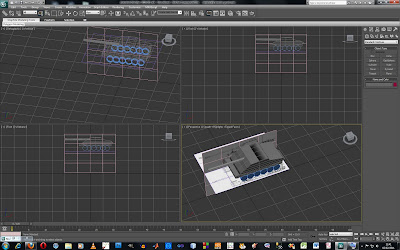
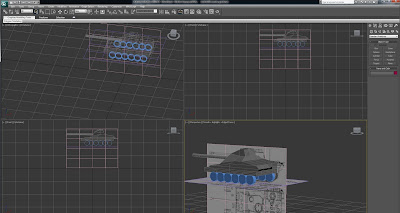
The tank that I have currently created in the tutorial was structured by importing 2 bitmaps in as reference planes, to give an idea of how the image needs to look and be sized. Initially sections were created using different shapes but was encouraged to use as few shapes as possible as this can affect file size hugely and rendering time.
The main tank body was created as one box shape, converted to an editable poly, then was extruded while using the vertex tool to manipulate the points of the model.
No comments:
Post a Comment