The purpose of today's tutorial was to implement the use of bipeds to help control character movement.
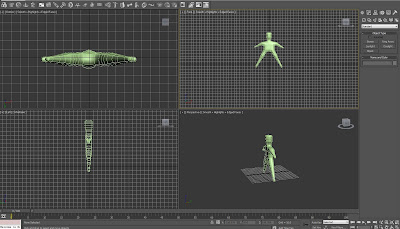
Firstly, a man was created (or downloaded), and then a biped was selected from the tool panel using the systems panel.

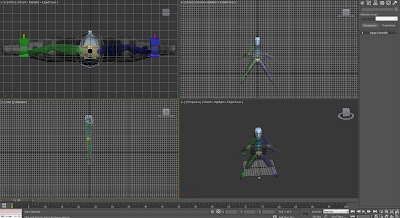
The idea is to manipulate the biped as close to the shape of the man you have created. It is moved inside of the "man" character using the figure mode and placed as effectively inside the mesh as possible.
The biped is adapted to try and place the bones as close to the shape of the character as possible, basically trying to emulate the proportions of the biped in relation to the character.

Deactivate figure mode and apply the physique setting in the modifier list, select "attach to node"and click on the pelvic bone on the biped which acts at the pivot point for the character.
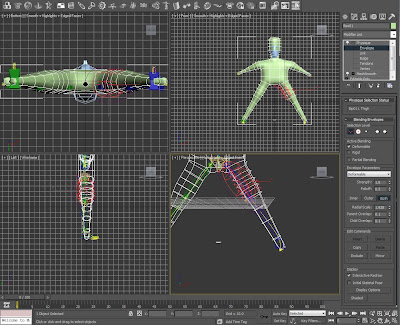
In order to manipulate the biped as closely to the model for the parts of the biped that need to be animated, you need to select the individual parts of the biped that need to be controlled. In the physique modifier increase the radial scale which basically wraps the biped leg size into the characters trying to make them the same or slichtly bigger so that no stretching occurs when it comes to the movement.
An example of what this looks like below:

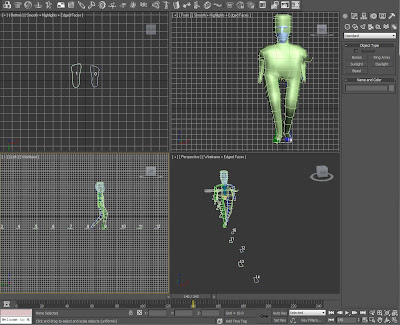
After you are happy that you have attached the biped correctly to your character and feel confident that the limbs will all move correctly then move to the motion panel with your biped selected and crete some footsteps for him to travel along using the footstep creation tool. Select the desired amount of footsteps required for your character and he should follow the pattern of steps.
Footsteps:

A Video of the Character Walking:
No comments:
Post a Comment